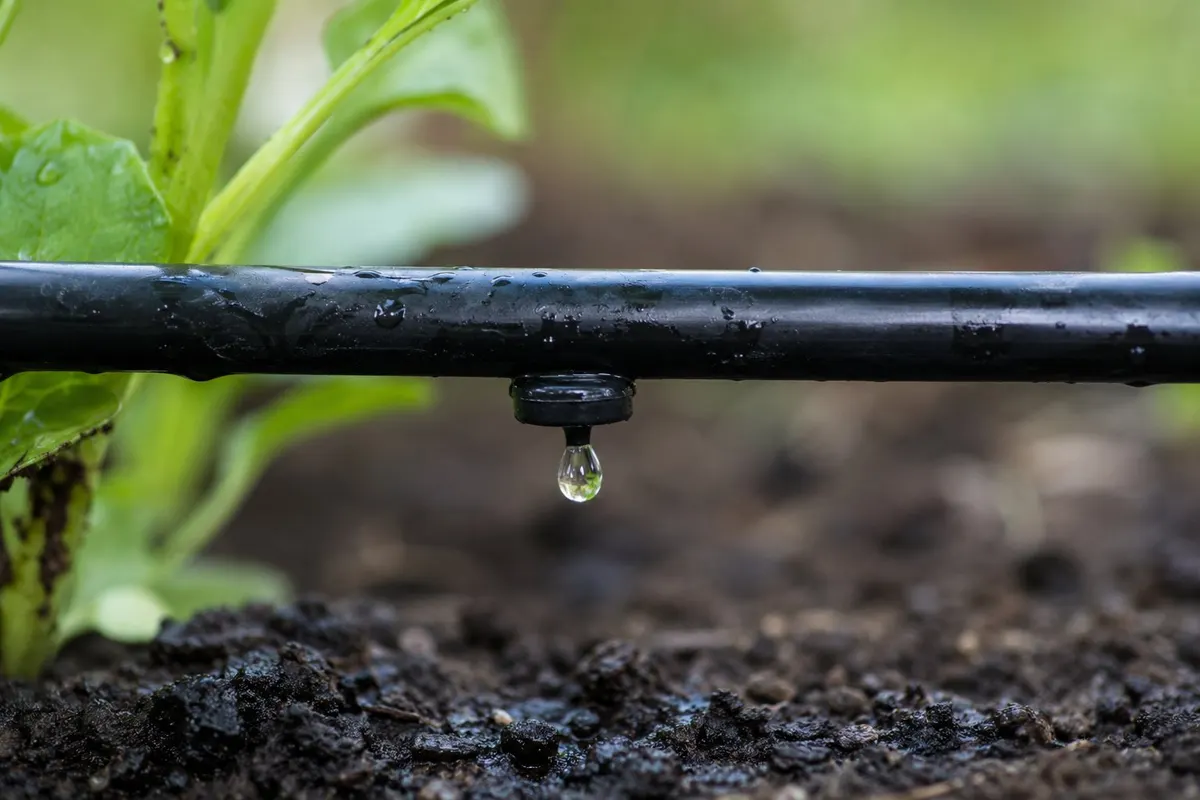
A working layout for home orchards and gardens, built from real components, in plain language.
Disclosure: Some product links in this article are affiliate links, which means Plant by ZIP may earn a commission if you buy through them at no extra cost to you.
If you’ve been hand-watering an orchard with a hose, you already know the math doesn’t work. A mature fig wants 10 gallons. A young muscadine wants 5. A row of blueberries wants steady moisture without ever sitting wet. Multiply that by twenty or thirty plants twice a week through July and August, and the season turns into a part-time job. So most home gardeners either give up and let the plants tough it out, which is part of why your fruit trees aren’t producing the way they should, or they buy a cheap drip kit from a big-box store, watch half of it pop off in the first heatwave, and conclude drip irrigation doesn’t work.
It does work. Done right, it’s one of the biggest time savers in a home orchard. Water gets to the roots, leaves stay dry, disease pressure drops, and watering that used to take ninety minutes takes the few seconds it takes to turn a valve. The catch is that “done right” means real components and some thought put into layout. The cheap kits aren’t a smaller version of a real system. They’re a different, worse thing.
Why drip beats hand-watering and sprinklers
A sprinkler throws water in the air, where a third evaporates before it hits soil, and most of what lands hits leaves and pathways. Overhead spray on a blueberry row at 6 p.m. on a humid evening is an open invitation for anthracnose and leaf spot. A hose at the base of a tree puts water in roughly the right place, but you’re standing there for two minutes and applying maybe three gallons before you get bored. The tree needed twelve.
Drip irrigation fixes both. Emitters meter a known volume directly to the root zone at a rate the soil can absorb, so water goes deep instead of running off. Deeper water means deeper roots, which means a tree that handles drought without your intervention by year four. Leaves stay dry. And you’re not standing there with a hose. The time savings alone justify it.
Why cheap drip kits disappoint
A cheap all-in-one kit contains thin-walled tubing that kinks, low-quality fittings that blow off under pressure, fixed-flow emitters, and a battery timer with a plastic gear train that fails in one season. The tubing is often 1/4-inch throughout, so you can’t run more than about twenty feet of it before pressure drops to nothing. The emitters aren’t pressure-compensating, so plants near the spigot get drowned and plants at the end get nothing.
People install these kits, watch them work for six weeks, watch a connector blow off in a heatwave and spray water for two days, and conclude drip is fussy. The kit is the problem. Real components from Dripworks, DripDepot, or Rain Bird’s professional line cost two or three times what big-box kits cost and last roughly ten times longer. If you’re going to buy a kit at all, buy a complete drip irrigation starter kit that uses real fittings, and know you’ll probably outgrow it within a year. The better move is usually to skip the kit and buy parts.
The basic layout: highways, roads, and driveways
The mental model that makes drip click is a road network. You have a highway, side roads, and driveways to each house.
The highway is 3/4-inch black poly tubing, running along the fence line or down the spine of the garden as the backbone, carrying the full volume of water to wherever it needs to go. You want 3/4-inch because pressure drop scales with length and flow, and a long main on 1/2-inch tubing will starve everything at the end. Under fifty feet covering a small area, 1/2-inch works as the main. For anything covering a meaningful portion of a yard, run 3/4-inch.
The side roads are 1/2-inch drip irrigation tubing branching off the main. Each branch is its own zone: one for the fig and pomegranate row, another for the muscadines, another for the blueberry bed, another for the raised beds. A working number is five to ten plants per branch. Different plants want different schedules, and isolating zones lets you shut one off during repairs without taking the whole system down.
The detail people skip: put shutoff valves for drip lines on every branch where it ties into the main. They’re cheap, take five seconds, and the first time you need to fix a leak in one zone without shutting down the whole orchard, you’ll be glad they’re there. Cap the end of each branch with end clamps for 1/2- or 5/8-inch lines so you can open the line, flush it, and close it again.
The driveways are 1/4-inch drip line or spaghetti tubing, running from the 1/2-inch branches to each plant. You punch a hole in the 1/2-inch line with a hole punch tool for drip tubing, insert a barbed connector, and run 1/4-inch line to the base of the plant, terminating in an emitter. Use 1/4-inch line stakes to hold each emitter at the root zone instead of letting it wander under mulch. Wrong hole? Plug it with goof plugs, which is what they are actually called.
Use landscaping pins anywhere the main or branch lines want to curl, lift, or drift into a mower path. Drip tubing has memory when it comes off the coil. Pinning it down during the first install makes the whole system feel less temporary.
That’s the whole layout. Highway, road, driveway.
Pipe sizing in plain terms
3/4-inch is right for any main longer than fifty feet or anything supporting more than twenty emitters at once. 1/2-inch works for branches up to about a hundred feet with eight to fifteen emitters. 1/4-inch is for the last few feet to the plant, never for distribution. Try to run everything off 1/2-inch and the emitters near the spigot put out three gallons per hour while the ones at the end dribble.
Zone design and emitter selection
Group plants by water needs where you can. Established fruit trees tolerate longer intervals and want deeper applications. Berries want shallower, more frequent water and never sitting dry. Muscadines and grapes want moderate steady supply once established, then very little during ripening, which is the opposite of most plants and worth their own zone. Raised beds want frequent short cycles. Newly planted anything wants more than its mature self will.
This is where pressure-compensating emitters matter. They put out their rated flow across a range of inlet pressures, so the first plant on the line and the last get the same volume. Spend the extra dollar. Use 1 GPH pressure-compensating emitters for young trees, shrubs, and tighter root balls, and 2 GPH pressure-compensating emitters where you need more volume around mature plants.
Rough guidance: a mature fruit tree wants two or three 2 GPH emitters around the drip line, run an hour or two a couple of times a week. Multiple emitters per tree isn’t about volume. It’s about wetted root zone. A young tree in year one or two wants one or two 1 GPH emitters at the root ball, run more frequently. A muscadine or grape wants a single 2 GPH emitter at the base for the first two years.
Blueberries and blackberries want steady flow: 1/2 GPH emitters every 18 inches along a 1/4-inch line, or a length of inline emitter tubing. Some growers prefer micro-sprinklers for berry rows because they wet a wider zone, but they wet foliage too. In humid climates, lean toward inline emitter tubing.
Filtration and pressure regulation, which are non-negotiable
A residential spigot puts out water at 40 to 80 psi. Drip emitters are designed for 15 to 25 psi. Connect a drip system directly to a hose bib without a regulator and you’ll eventually blow apart a fitting, and even before that, your emitters will be putting out double their rated flow and your tubing will balloon and pop off connections. A pressure regulator is a small part. Install one.
A Y-filter for drip systems is the other non-negotiable. Even on municipal water you’ll get sediment and biofilm fragments that clog small emitters within a season. It sits between the spigot and the regulator. Rinse the screen once a season. If you’re tying into house plumbing rather than a hose bib, add a backflow preventer both for code and because the last thing you want is fertilizer-laced water siphoning back into your drinking supply during a pressure drop.
The stack at the spigot, in order: backflow preventer, filter, pressure regulator, and a hose-to-dripline adapter to connect the hose bib to your main line. If this is your only outdoor faucet, put a hose splitter before the drip stack so you can still use a regular hose without disassembling the irrigation system. Five minutes of assembly. Do it once and forget about it.
Timers, raised beds, and what to skip
The simplest timer option is a hose-end battery timer that screws on ahead of the filter stack. Decent ones let you set multiple cycles per day. They’re also the most likely component to fail, usually because the battery contacts corrode after a couple of seasons. Keep a spare. A smart WiFi irrigation controller starts to make sense once you have multiple zones with solenoid valves and want skip-watering on rainy days based on the actual forecast. For a small to mid-size home orchard, basic battery timers are fine. Don’t feel obligated to spend smart-controller money before the system needs it.
Raised beds get planted densely, and running individual 1/4-inch lines to each tomato gets fiddly. The two clean options are drip tape, which is cheap per foot and fine for annual beds you rework each season, and inline emitter line. Drip line for raised beds, such as Netafim Techline or similar pressure-compensating emitter tubing, costs more per foot and lasts much longer. Run two or three parallel lengths down the bed, tie them into a 1/2-inch header at one end, clamp or fold the far ends, and you’re done. For permanent beds or beds mixing perennials and annuals, this is the right answer.
The most common mistake is underestimating how much tubing you need. Buy more 3/4-inch and 1/2-inch than you think. The second is skipping the filter or regulator because the system seems to work without them, then dealing with mystery clogs all season. The third is over-engineering the first install. Run a single zone to the plants you care about most, see how it behaves, and add zones as you go.
Things to skip: cheap multi-packs of non-pressure-compensating emitters, “drip in a bag” kits, foam-tipped soaker hoses that disintegrate after one summer, and the gimmicky watering globes marketed to balcony gardeners. One thing worth buying in volume up front: barbed connectors. You’ll use more 1/4-inch barbed connectors, 1/4-inch tee fittings, and 1/2- or 5/8-inch elbows than you expect, and running to the hardware store mid-install is the fastest way to lose a Saturday.
Match the system to the plants
Watering design gets easier when plants are grouped by need. Use the plant screener to compare apples, figs, peaches, grapes, and berries before you lay tubing. For a few concrete examples, Celeste fig wants a different establishment rhythm than Legacy blueberry or Carlos muscadine grape. If you are building raised beds instead of an orchard row, the planting calendar helps decide where drip line matters most.
Realistic budget
For 30 to 40 plants across three zones, with a proper filter stack, a battery timer, and real components from a professional vendor, the all-in cost lands around $250 to $400 depending on tubing run. That’s real money for a weekend project. It’s also a system that runs for ten or fifteen years with nothing more than annual filter cleaning, and pays back the cost in saved time within a single season. The cheap kit costs less, lasts six weeks, and discourages you from ever trying again.
Bottom line
A drip system installed with real components, a sensible layout, and the filter-and-regulator stack at the spigot can last for many seasons. The water gets where it’s supposed to go, the leaves stay dry, and you spend less weekend time hand-watering. The cheap kits aren’t a smaller version of this. They’re a different thing, and they fail in the way that talks people out of drip altogether. Skip them. Buy the real parts once, lay out a highway with side roads and driveways, and the system will quietly do its job while you go do something else.